Table of contents
If you’ve ever dreamed of launching your own clothing brand, designing a perfect gift, or simply expressing your creativity, an online t shirt maker is your gateway to turning ideas into wearable reality. In this article, we dive deep into how to choose the best online t shirt maker, how to use it, compare top platforms, share tips to design compelling tees, and wrap up with actionable advice to get started.
Why Use an Online T Shirt Maker?
An online t shirt maker offers advantages that traditional design routes can’t match:
- Speed: You can go from concept to mockup in minutes.
- Cost-efficiency: Many platforms offer free tiers or low-cost options.
- No design skills needed: They often include user-friendly drag-and-drop tools and templates.
- Scalability: From one-off custom tees to full product lines, many tools support integrated printing or dropshipping.
- Flexibility: You can design from any device with internet access — laptop, tablet, smartphone.
When you use a top-tier online t shirt maker, you eliminate many of the traditional barriers to entry in fashion design: no equipment investment, no pattern making learn-ups, and no outsourcing just to see a sample.
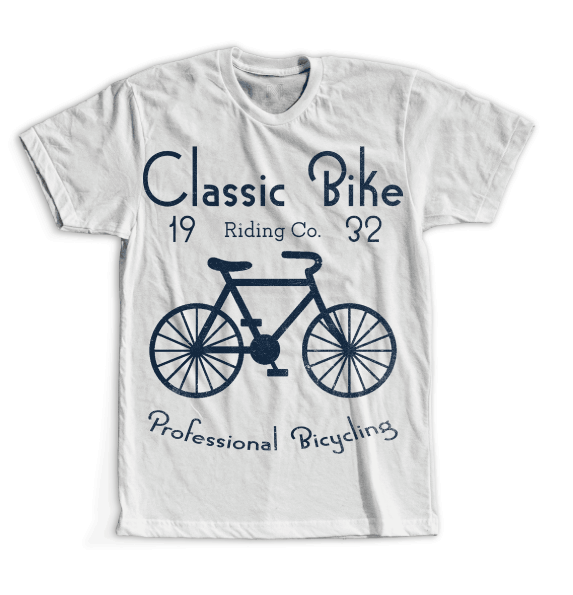
How to Choose the Best Online T Shirt Maker
Before diving in, here are key criteria to look for when selecting a t shirt maker tool:
- Ease of use / UI intuitiveness
The best online t shirt maker tools offer drag-and-drop editors, real-time previews, and minimal learning curves—even for complete beginners. - Template library and design assets
A robust library of graphics, fonts, clip art, and pre-made layouts helps you start faster. - Customization flexibility
Be sure you can adjust colors, text, sizing, layering, images, and upload your own art files (PNG, SVG). - Mockup realism and preview
Look for mockup previews that show how the design looks on a real shirt, in different views (front, back, side). - Print quality and output files
Ensure the t shirt maker can export high-resolution files (300 dpi), vector formats (SVG, PDF), or prepare files ready for printing. - Integration and fulfillment
If you want to sell your designs, check for integration with print-on-demand platforms, e-commerce stores, or direct printing. - Pricing and free plans
The best free t shirt maker tools let you design without cost, with premium features or licensing unlocked via paid plans. - Support and resources
Tutorials, design guides, and customer support add value to your experience.
By scoring candidate tools across these criteria, you can narrow down your best online t shirt maker.
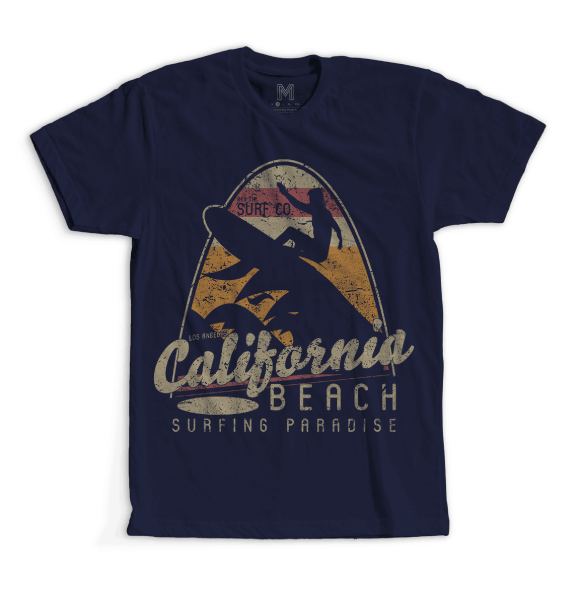
Step-by-Step Guide: How to Design a Tee in Minutes Using a T Shirt Maker
Here’s a generic workflow you can apply to any quality online t shirt maker:
1. Choose a blank shirt style
Start by selecting a t-shirt type (crew neck, V-neck, long-sleeve, hoodie). The t shirt maker tool will show blank mockups you can work on.
2. Pick or upload your design elements
- Use built-in templates or clip art from the library.
- Upload your own graphics (preferably in PNG or SVG format).
- Add text elements with customizable fonts, sizes, colors, and effects.
3. Arrange layers and composition
- Move, rotate, scale design elements.
- Use alignment guides or grid snapping tools.
- Add multiple layers (print front, back, sleeves).
- Experiment with transparency, overlays, or blending effects.
4. Choose colors and shirt variants
- Pick shirt colors to test contrast with your design.
- Optionally, create variants (e.g. white, black, blue) in the same design session.
5. Preview mockups
- Use the mockup preview: front view, back view, side angles.
- Zoom in to check print clarity on folds or seams.
- If available, view garment folds and shadowing to approximate realism.
6. Export files or connect to printing
- Export high-resolution files (e.g. 300 dpi PNG, SVG).
- Export layered PSD or PDF files if advanced editing is needed.
- When available, connect your design with a print-on-demand or fulfillment partner and submit the design for printing.
7. Order a sample or launch
- Many platforms let you order one sample shirt to check quality.
- Approve the sample, then produce multiple units or launch your design for sale.
Using a capable online t shirt maker, this entire process can take under 15 minutes once you’re familiar with the interface.
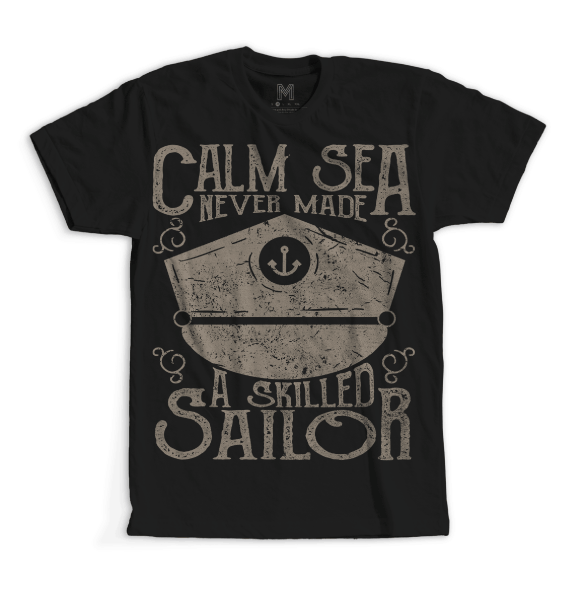
Top 5 Free or Low-Cost Online T Shirt Maker Platforms
Below is a curated list of popular t shirt maker platforms that combine ease, flexibility, and affordability:
| Platform | Standout Feature(s) | Best For |
|---|---|---|
| Placeit by Envato | Huge mockup/media library + tee designer integration | Entrepreneurs doing social media and marketing (mockups for listing) |
| Canva | Extremely intuitive editor + templates + multiple formats | Beginners, non-designers wanting quick and beautiful results |
| Printful’s Design Maker | Direct integration to print-on-demand + store connectors | Sellers wanting seamless fulfillment |
| Teespring / Spring | Design + storefront + built-in production | Creators wanting full print-on-demand ecosystem |
| Custom Ink (Design Lab) | High-quality rendering + design support | Ordering bulk runs for teams or events |
These platforms often include free tiers (with watermarked mockups, limited assets) and premium tiers (unlocked assets, no branding, full resolution). Always check licensing for commercial use before launching a design.
Design Tips to Make Your Custom Tees Stand Out
Even with a powerful t shirt maker, design decision-making matters. Here are creative tips to elevate your tees:
Know your audience and niche
- Are your customers into minimalism, bold graphics, humor, art, activism?
- Define a theme or style (e.g. modern, vintage, illustrative, typographic) and stick to it.
Use high-contrast and readable fonts
- Keep text easy to read from a distance.
- Avoid putting light text on a pale shirt.
- Use bold weights, outlines, or subtle shadows to maintain legibility.
Leverage whitespace and layout simplicity
- Don’t overcrowd the shirt—less is often more.
- Give your design room to breathe.
- Use alignment and balance (center, left-aligned, radial, etc.).
Limit your color palette
- Stick to 2–4 colors for printing simplicity and visual cohesion.
- Use color theory (complementary, analogous) to choose shirt + print colors.
Use mockups and test visuals
- Try your design on multiple shirt colors via the t shirt maker’s preview.
- Visualize how the design looks in real-life settings (on models, flatlays).
- Seek feedback from friends or online communities before launch.
Include design “wear points”
- Strategic placement: chest print, back print, sleeve prints, shoulder, pocket area designs.
- Consider asymmetric or wrap designs for interest.
Mind print limitations
- Designs too close to seams, zippers, or edges may be distorted in production.
- Avoid very fine lines or very small text that won’t print cleanly.
- Know the printing method (screen, DTG, sublimation) and its color capabilities.
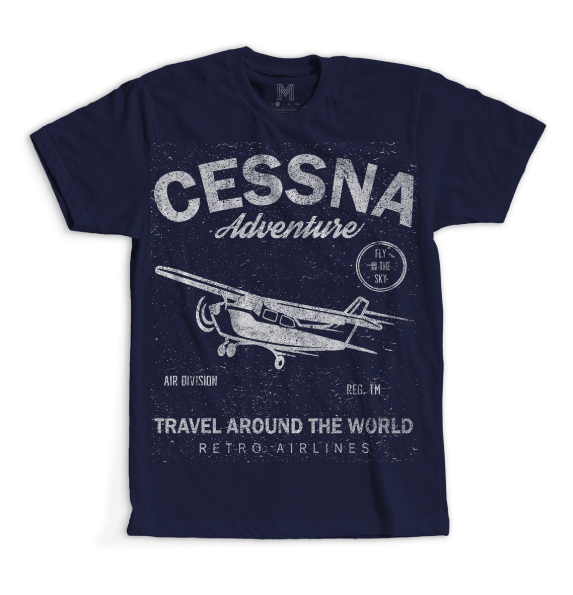
SEO & Marketing Angle: How to Promote Your Custom Tees
Since you’re targeting audiences with your t shirt maker designs, here’s how to optimize visibility and sales:
SEO for your listings / website
- Use the main keyword “t shirt maker” in your title and meta description (e.g. “Designed via online t shirt maker tool”).
- Include long-tail phrases like “custom tee designer”, “print-on-demand t shirt maker”, or “free t shirt maker online”.
- Describe design features, shirt types, materials, and printing methods richly in your product descriptions.
Content marketing strategy
- Write blog posts like “How we designed our best-selling tee using a free t shirt maker”.
- Create tutorials or videos walking through your favorite t shirt maker tool.
- Share behind-the-scenes snapshots of your design process.
Social media + visuals
- Show mockups and real photos of people wearing your tees.
- Use platforms like Instagram, TikTok, or Pinterest using hashtags like #tshirtmaker, #customtee, #designtshirt.
Influencers and collaborations
- Partner with local artists, micro-influencers, or communities to co-design a tee using your t shirt maker designs.
- Offer promo codes or limited editions to drive scarcity.
Leverage print-on-demand integrations
- Use your t shirt maker to export designs directly to platforms like Etsy, Shopify, or Redbubble.
- Let the fulfillment backend handle printing and shipping while you focus on design, marketing, and brand storytelling.
Common Pitfalls & How to Avoid Them
Even with a powerful t shirt maker tool, beginners may stumble into common traps. Here’s what to watch out for:
| Pitfall | Risk / Problem | How to Avoid |
|---|---|---|
| Low-resolution exports | Blurry prints or pixelation | Always export at 300 dpi or vector if supported |
| Overly complex designs | High printing cost, difficult registration | Simplify colors and avoid too many overlapping layers |
| Ignoring print bleed / safe zones | Design cut off or warped | Check margin guidelines in the t shirt maker before exporting |
| Uploading copyrighted images | Legal issues, takedowns | Use royalty-free or your own art, verify licensing |
| Not ordering a sample | Discovering print flaws too late | Always order 1 test shirt to check alignment, color, and fit |
| Using designs too close to seams | Distortion in real garment | Avoid placing artwork too close to edges, zippers, sleeves |
| Poor marketing description | Low discoverability | Write keyword-rich, clear descriptions with details about material, fit, design inspiration |
By being aware of these traps, you’ll design smarter and launch more confidently using your online t shirt maker.
Example Workflow: Designing a “City Pride” Tee Using a Free T Shirt Maker
Let’s walk through a hypothetical example to make things concrete:
- Open the t shirt maker tool
I choose “Crew Neck Tee – Men’s” as my blank garment. - Upload artwork
I upload a vector file of my skyline illustration (SVG). The t shirt maker accepts vector and converts it cleanly. - Add text
I insert text “City Pride” below the skyline in a bold sans-serif font. I set the text color to white and outline in dark blue for contrast. - Layer and position
I place the skyline above the text, center-aligned. I scale the design so it sits nicely across the chest region, leaving margin space. - Choose shirt color variants
I preview the design on black, navy, and heather grey shirts to see which contrasts best. - Mockup preview
I view front, back (blank), and side images to confirm look and alignment. The mockup shows slight folds—looks realistic. - Export & publish
I export a 300 dpi PNG and a vector PDF. I also connect directly with Printful, publish to my Shopify store, and push the listing live. - Order sample
A few days later, I receive the test shirt. I check color fidelity, alignment, and print sharpness. Everything looks good—then I approve and fulfill the order.
This workflow is typical of what a quality t shirt maker enables—fast, flexible, and end-to-end.
Top 10 Custom Polo Shirts for Your Brand: Stylish, Comfortable, and Affordable
Summary & Next Steps
Using a robust online t shirt maker, anyone—from hobbyists to budding entrepreneurs—can design custom tees in minutes without investing in costly equipment or software. To recap:
- Choose a t shirt maker with ease-of-use, robust libraries, mockup previews, export options, and integration with fulfillment.
- Follow a structured design workflow: blank → elements → layout → preview → export → sample → launch.
- Elevate your designs with smart layout, readable fonts, limited color palettes, and audience-aware style.
- Promote your creations through SEO, content marketing, social media, and print-on-demand integrations.
- Avoid common pitfalls like low resolution, copyright issues, or skipping sample checks.
Your next step: pick one or two platforms from the list above (Canva, Placeit, Printful, etc.), sign up for the free plan, and launch your first design using the knob-turning steps above. You’ll be surprised how fast you can go from idea to a published custom tee that the world can wear.
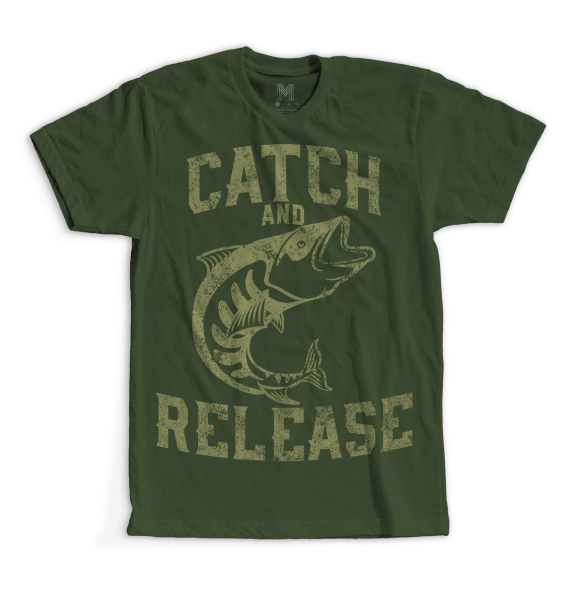
Here is an open source t-shirt design that you can download here.