Table of contents
A custom t shirt design is one of the most creative and rewarding ways to express individuality, promote a business, or commemorate a special event. Whether you’re an entrepreneur building your brand, a designer experimenting with ideas, or simply someone wanting to make personalized apparel, creating your own custom T-shirt can be both fun and profitable. This step-by-step guide will walk you through the process of planning, designing, and producing a custom t shirt design that looks professional and stands out.
By the end of this article, you’ll understand how to brainstorm design ideas, use design tools effectively, choose quality materials, and get your shirts printed the right way—all while keeping your creative vision intact.
Step 1: Understanding the Purpose of Your Custom T Shirt Design
Before you open any design software or start sketching, take a moment to define why you’re creating a custom t shirt design. The purpose will shape your entire project.
Ask yourself:
- Is this for a business promotion or merchandise line?
- Is it for a sports team, charity, or event?
- Are you designing for personal expression or fashion?
Knowing your purpose helps you determine your message, tone, and style. For example, a startup might want a minimalist logo design for branding, while a music festival could benefit from bold, colorful artwork that reflects energy and excitement.
Your custom t shirt design should visually communicate your goal the moment someone sees it.
Step 2: Researching Inspiration and Trends
Once your purpose is clear, it’s time to look for inspiration. Browse websites like Pinterest, Dribbble, and Behance for custom t shirt design examples. Observe color palettes, typography choices, and layout structures.
You don’t need to copy other designs, but studying trends helps you stay relevant. Some popular design directions include:
- Retro aesthetics with bold fonts and vintage graphics
- Minimalist designs featuring simple lines and muted tones
- Typography-driven shirts where the text itself becomes the art
- Illustrative or hand-drawn designs for a personal touch
- Pop culture references that appeal to niche audiences
When gathering inspiration, note what resonates with your audience and how you can bring something unique to your own custom t shirt design.
Step 3: Brainstorming and Concept Development
Now that you’re inspired, it’s time to brainstorm ideas for your custom t shirt design. Start with words or themes that connect to your goal. For example, if you’re making shirts for a fitness brand, words like “strength,” “movement,” or “energy” can spark ideas.
Sketch rough concepts on paper or digitally. Don’t worry about perfection—this stage is about creativity, not precision. Try combining symbols, typography, and shapes to find a visual balance that fits your message.
Consider how the design will look when worn. A custom t shirt design should be visually appealing from a distance and readable up close. Think about placement too—chest, back, sleeves, or even wrap-around prints can make your shirt more dynamic.
Step 4: Choosing the Right Design Tools
To bring your custom t shirt design to life, you’ll need the right software. There are several options depending on your skill level:
- Adobe Illustrator – Ideal for professionals creating vector-based designs that scale perfectly.
- Adobe Photoshop – Great for detailed raster artwork, photo edits, and mockups.
- Canva – A beginner-friendly tool with pre-made templates for custom t shirt design.
- CorelDRAW – Excellent for detailed vector graphics and typography work.
- Procreate (for iPad users) – Perfect for hand-drawn or illustrative designs.
If you’re new to digital design, start with Canva or a free tool like GIMP. As you grow more confident, you can move on to advanced software to refine your skills.
Step 5: Selecting Colors and Fonts
Color and typography are two key elements that determine how your custom t shirt design feels and communicates.
Color Tips:
- Choose colors that match your brand identity or message.
- Use contrast wisely—dark designs on light shirts (and vice versa) stand out best.
- Keep your color palette simple; too many colors can distract.
Font Tips:
- Use readable fonts that match your design’s tone (bold for power, script for elegance, sans-serif for modernity).
- Limit yourself to two fonts for consistency.
- Convert text to outlines before printing to ensure accurate rendering.
Remember, a balanced custom t shirt design combines color and typography to tell a clear story.
Step 6: Preparing Your Design File
Once your artwork is finalized, it’s time to prepare it for printing. The file format and resolution are crucial for a crisp custom t shirt design.
Here’s what to keep in mind:
- Resolution: Use 300 DPI (dots per inch) for sharp results.
- Color Mode: Set your file to CMYK for print, RGB for digital previews.
- File Types: Most printers prefer vector files (AI, EPS, SVG) or high-resolution PNGs with transparent backgrounds.
- Size & Placement: Ensure your design dimensions match your shirt size and intended print area.
Double-check everything before sending it off—you don’t want to discover a typo or off-center print after production.
Step 7: Choosing the Right Printing Method
The printing method you choose can make or break your custom t shirt design. Here are the most common options:
- Screen Printing – Best for bulk orders. Produces vibrant, long-lasting prints.
- Direct-to-Garment (DTG) Printing – Ideal for complex, colorful designs and small batches.
- Heat Transfer – Great for photo-based or full-color images; suitable for custom one-offs.
- Vinyl Printing – Perfect for simple graphics, lettering, or sportswear.
- Sublimation Printing – Works best on polyester fabrics for all-over designs.
Each method has its advantages. For example, if your custom t shirt design involves intricate gradients or multiple colors, DTG might be the best fit. If you’re producing hundreds of shirts with one logo, screen printing could be more cost-effective.
Step 8: Selecting Quality T-Shirts
Your custom t shirt design will only look as good as the shirt it’s printed on. Choose the right fabric, fit, and brand to complement your artwork.
Fabric Choices:
- Cotton: Soft, breathable, and ideal for casual wear.
- Polyester: Durable and great for athletic or performance wear.
- Blends: Offer a balance of comfort and durability.
Fit Types:
- Unisex: Most common and versatile.
- Slim Fit: Modern and tailored.
- Relaxed Fit: Comfortable and casual.
Remember to consider color availability and how it complements your custom t shirt design. Always test-print one sample before placing a bulk order to ensure quality consistency.
Step 9: Creating Mockups and Testing Designs
Before going into full production, visualize your custom t shirt design on a realistic mockup. This helps you see how it will look when printed and worn.
Use mockup tools like:
- Placeit – Offers thousands of realistic models and backgrounds.
- Smart Mockups – Great for quick previews.
- Photoshop Templates – Allow more customization and control.
Testing your design on a mockup ensures correct placement, color harmony, and readability. It’s also useful for marketing materials or social media previews before launching your product line.
Step 10: Printing and Quality Check
After final approval, it’s time to print your custom t shirt design. Always communicate clearly with your printer—provide detailed instructions, color codes, and placement guides.
When the shirts are ready, perform a quality check:
- Inspect colors and print clarity.
- Check for alignment or smudging.
- Verify fabric quality and size accuracy.
A flawless custom t shirt design reflects professionalism and ensures customer satisfaction.
Top Print on Demand Shirts Companies That Actually Deliver Quality
Step 11: Marketing and Selling Your Custom T Shirt Design
If your goal is to sell your shirts, marketing is the next essential step. Showcase your custom t shirt design through social media, online stores, and local events.
Marketing Tips:
- Take professional photos of people wearing your shirts.
- Use storytelling—share the inspiration behind your design.
- Offer limited editions or bundle deals to boost excitement.
- Utilize e-commerce platforms like Shopify, Etsy, or Printful.
An engaging brand story paired with a unique custom t shirt design can turn a simple product into a lifestyle statement.
Common Mistakes to Avoid
While creating a custom t shirt design, beginners often make avoidable mistakes. Here are a few to watch out for:
- Overcomplicating the design with too many elements.
- Ignoring print limitations and color matching.
- Using low-resolution images that blur during printing.
- Neglecting audience preferences or sizing options.
- Forgetting to proofread text.
By staying mindful of these pitfalls, your custom t shirt design will come out cleaner, sharper, and more professional.
Conclusion
Creating a custom t shirt design is more than just a creative hobby—it’s a skill that combines art, branding, and production knowledge. From defining your purpose and sketching ideas to printing and marketing, every step plays a crucial role in achieving a professional result.
Whether you’re launching a brand, organizing an event, or just crafting something personal, the process of developing a custom t shirt design can be deeply rewarding. With thoughtful planning, the right tools, and a touch of creativity, you can turn a simple T-shirt into a canvas of expression, pride, and identity.
So grab your sketchbook, open your design software, and start creating your masterpiece today—the world is ready for your next great custom t shirt design.
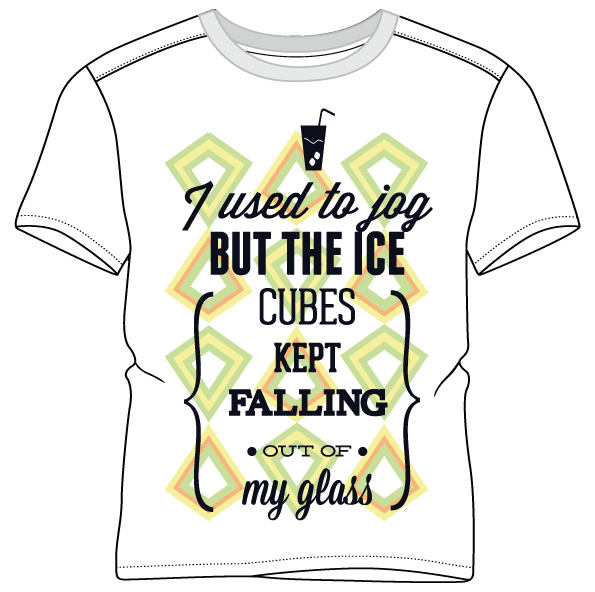
Here is an open source t-shirt design that you can download here.